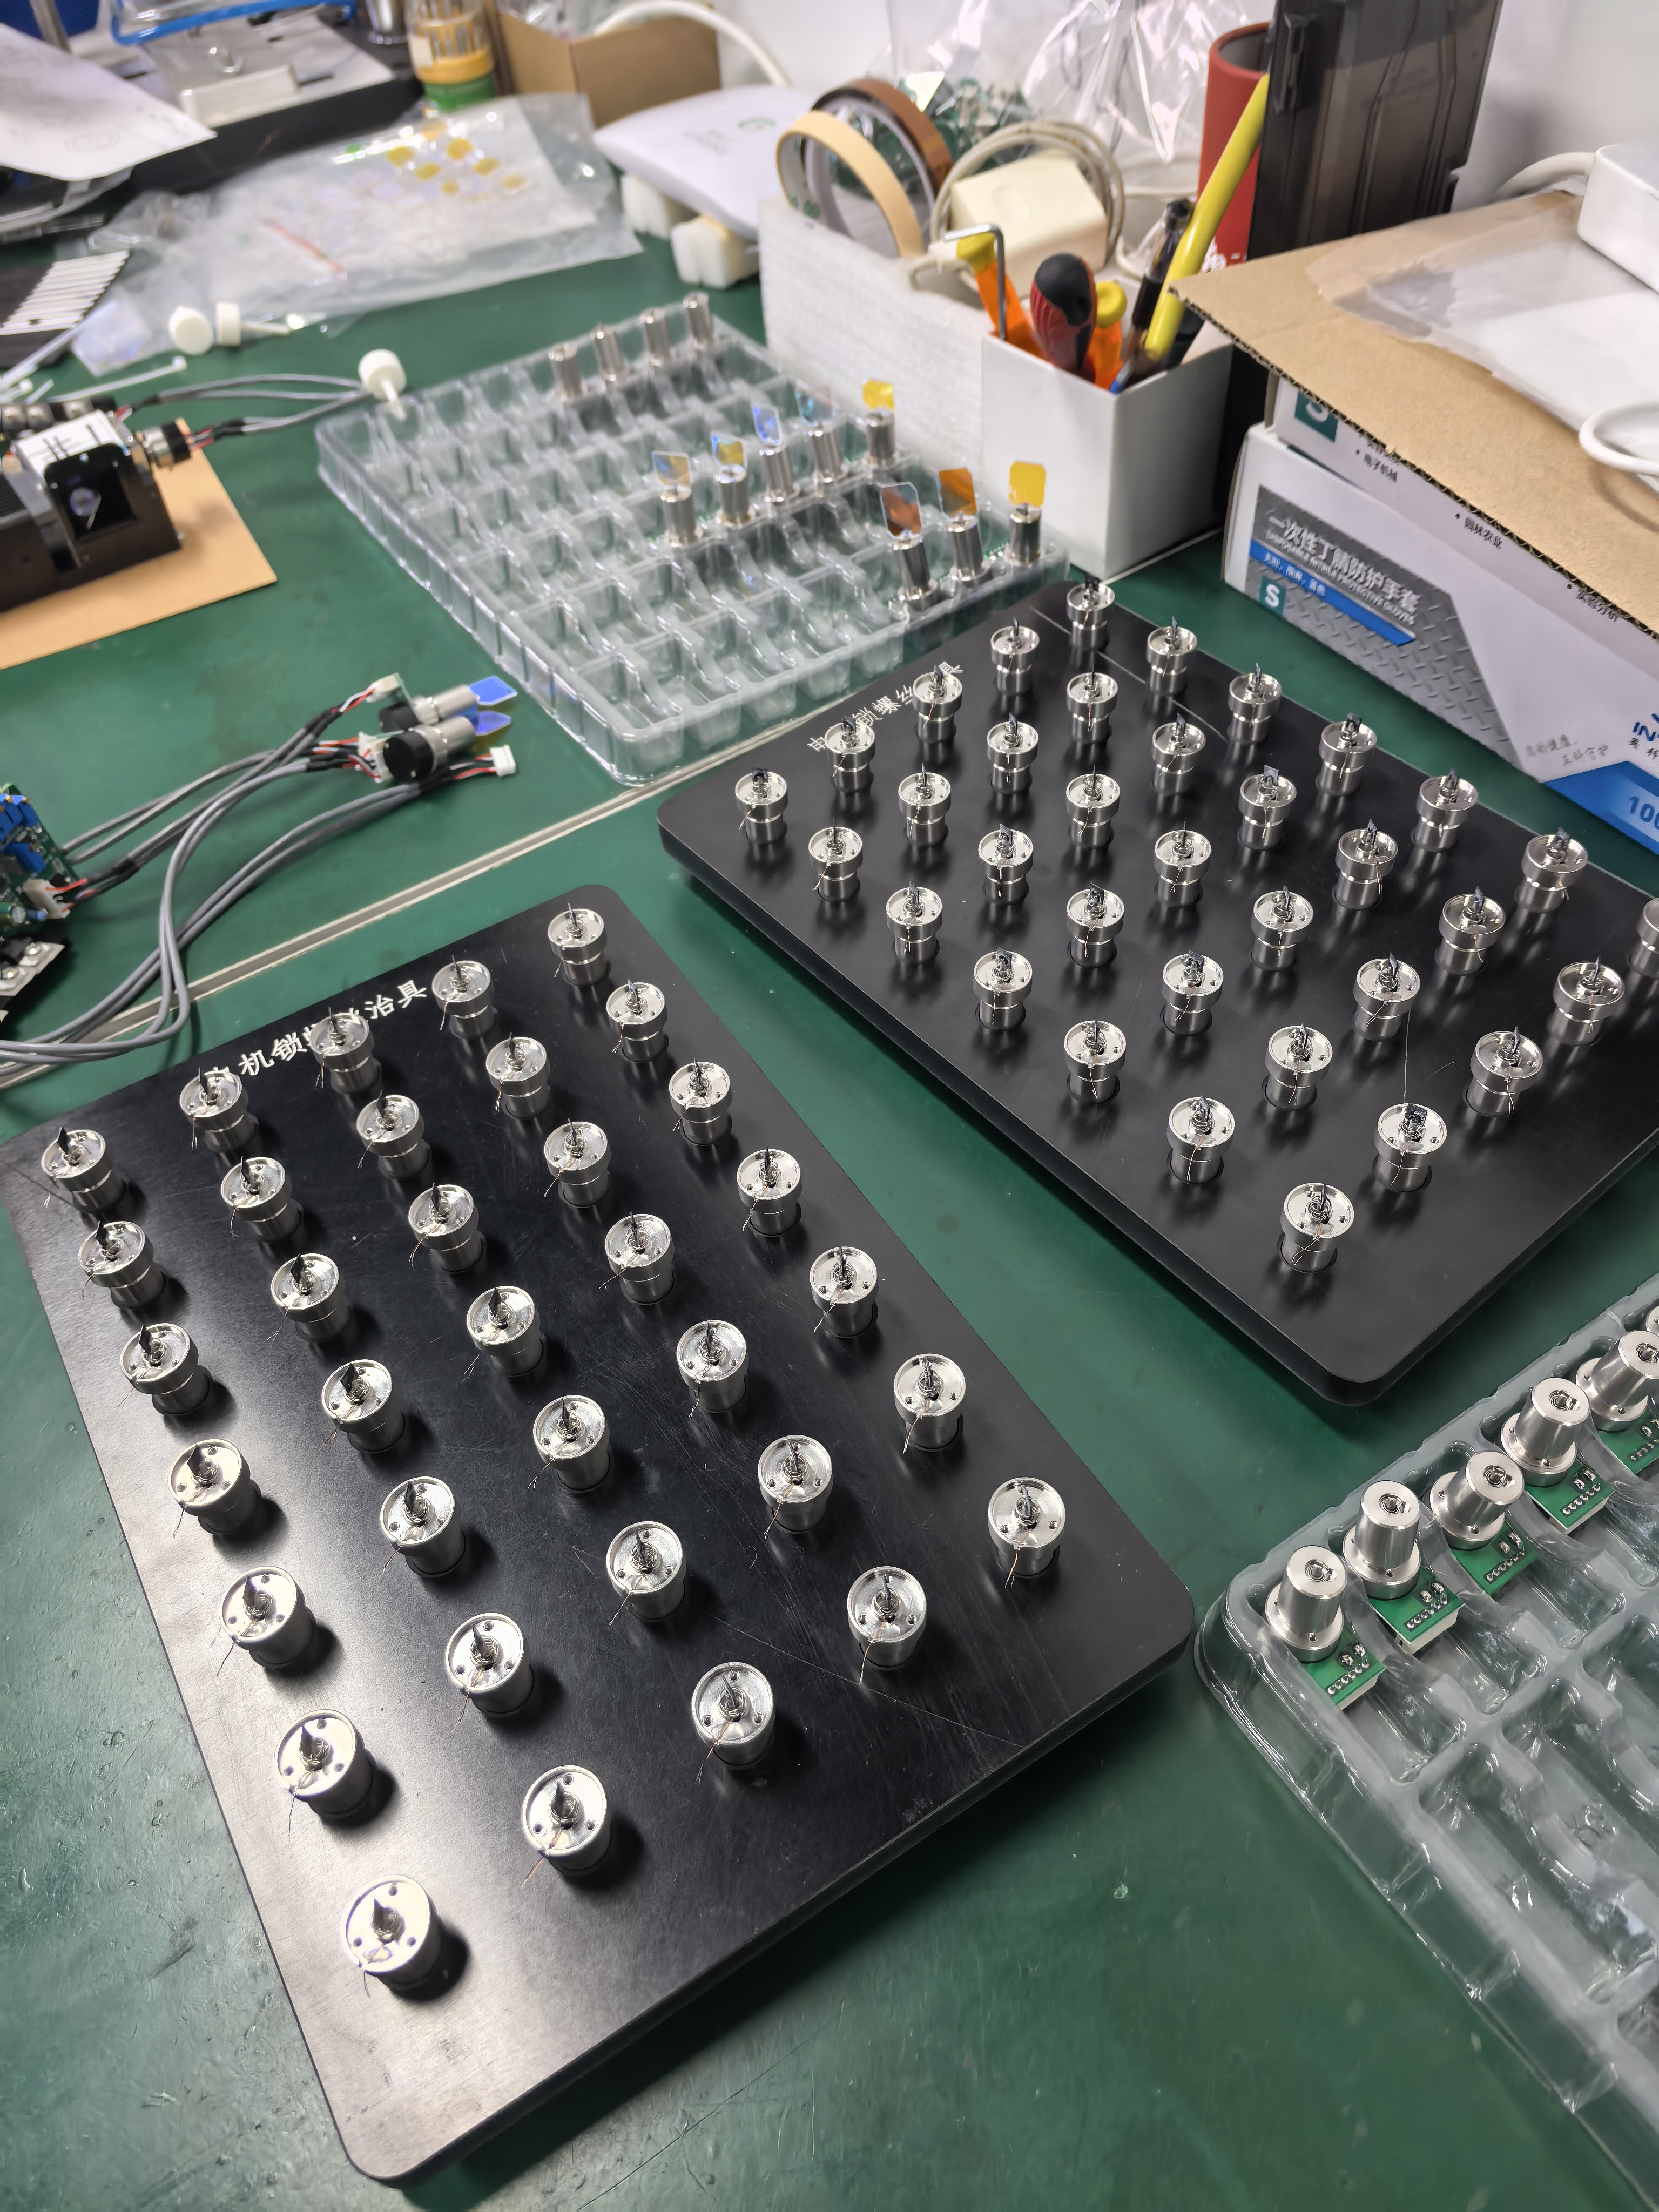
A useful fixture note is shorter than a full manual but more precise than “place it like last time.” It records the decisions that help a maker repeat a setup without turning a previous sample into a promise of identical results.
Start with the object reference
Name the object in plain language and photograph it in the intended orientation. Mark the visual front, the artwork direction, and the reference edge used for placement. If the object varies from piece to piece, say so instead of hiding that uncertainty.
Describe contact points
Sketch where the object touches the fixture and where it must remain clear. Note any removable stop or locating feature. The goal is to show how movement is controlled, not to publish unverified dimensions or imply that one fixture fits every item.
Record the approval checkpoints
Separate artwork approval, placement approval, and process review. Include a box for the operator to confirm the current material guidance and a box for the person who approved personalized content. This makes responsibility visible before work begins.
Add a stop condition
Write down what should cause the setup to be paused: unexpected movement, unclear material identity, a preview that does not match the approved orientation, or a safety control that is unavailable. A repeatable workflow includes a repeatable decision to stop.
Archive evidence, not assumptions
Save one setup photo, the approved design version, and a short observation about the sample. Keep measured results tied to the exact test conditions. A different coating, object geometry, or artwork may require a new review.
AntBelt G1 is presented as a compact desktop galvo engraving workflow. Current prototype demonstrations can inform planning, while final configuration and campaign details should be checked in official current materials. Browse /updates/ for related preparation ideas.
Review current AntBelt G1 project details and updates on Kickstarter: