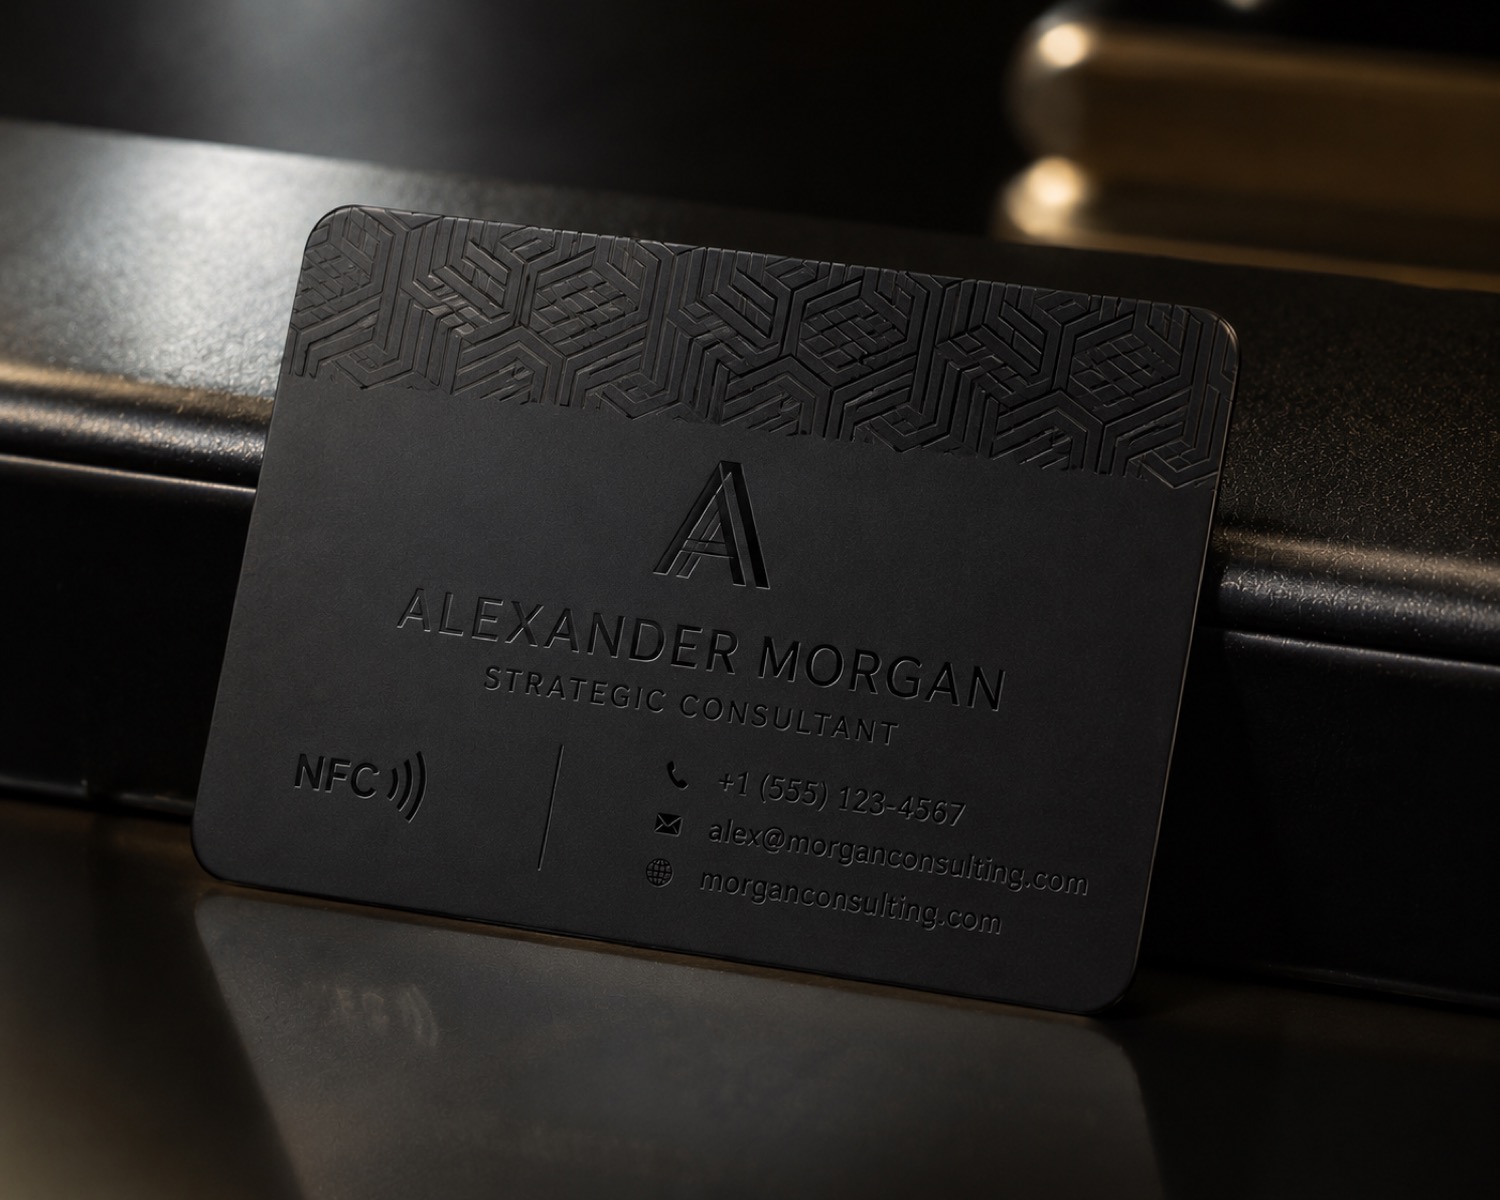
Sample centers attract attention, but edges can reveal placement drift, unintended marks, surface variation, or handling damage. Review the perimeter first, then move inward to the artwork.
Use the same inspection order
Place each sample under the same documented light and begin at the top edge. Move clockwise, then review the center. Photograph any observation with a small pointer or note in frame so another reviewer can locate it.
Keep visual observations narrow: edge appears lighter under side light, corner shows a handling mark, or alignment reference remains visible. Do not convert these notes into claims about every blank or finish.
Preserve a comparison view
Photograph the full sample after the edge review, keeping the label visible. When two samples differ, compare their source records and setup notes before assigning a cause. A consistent inspection order improves discussion without pretending to be a laboratory result.
AntBelt G1 is presented through current prototype and sample information. Actual material suitability and operating choices require current guidance and controlled testing.
Browse /updates/ for more AntBelt G1 material-test notes.
See the current AntBelt G1 campaign information and project updates on Kickstarter: