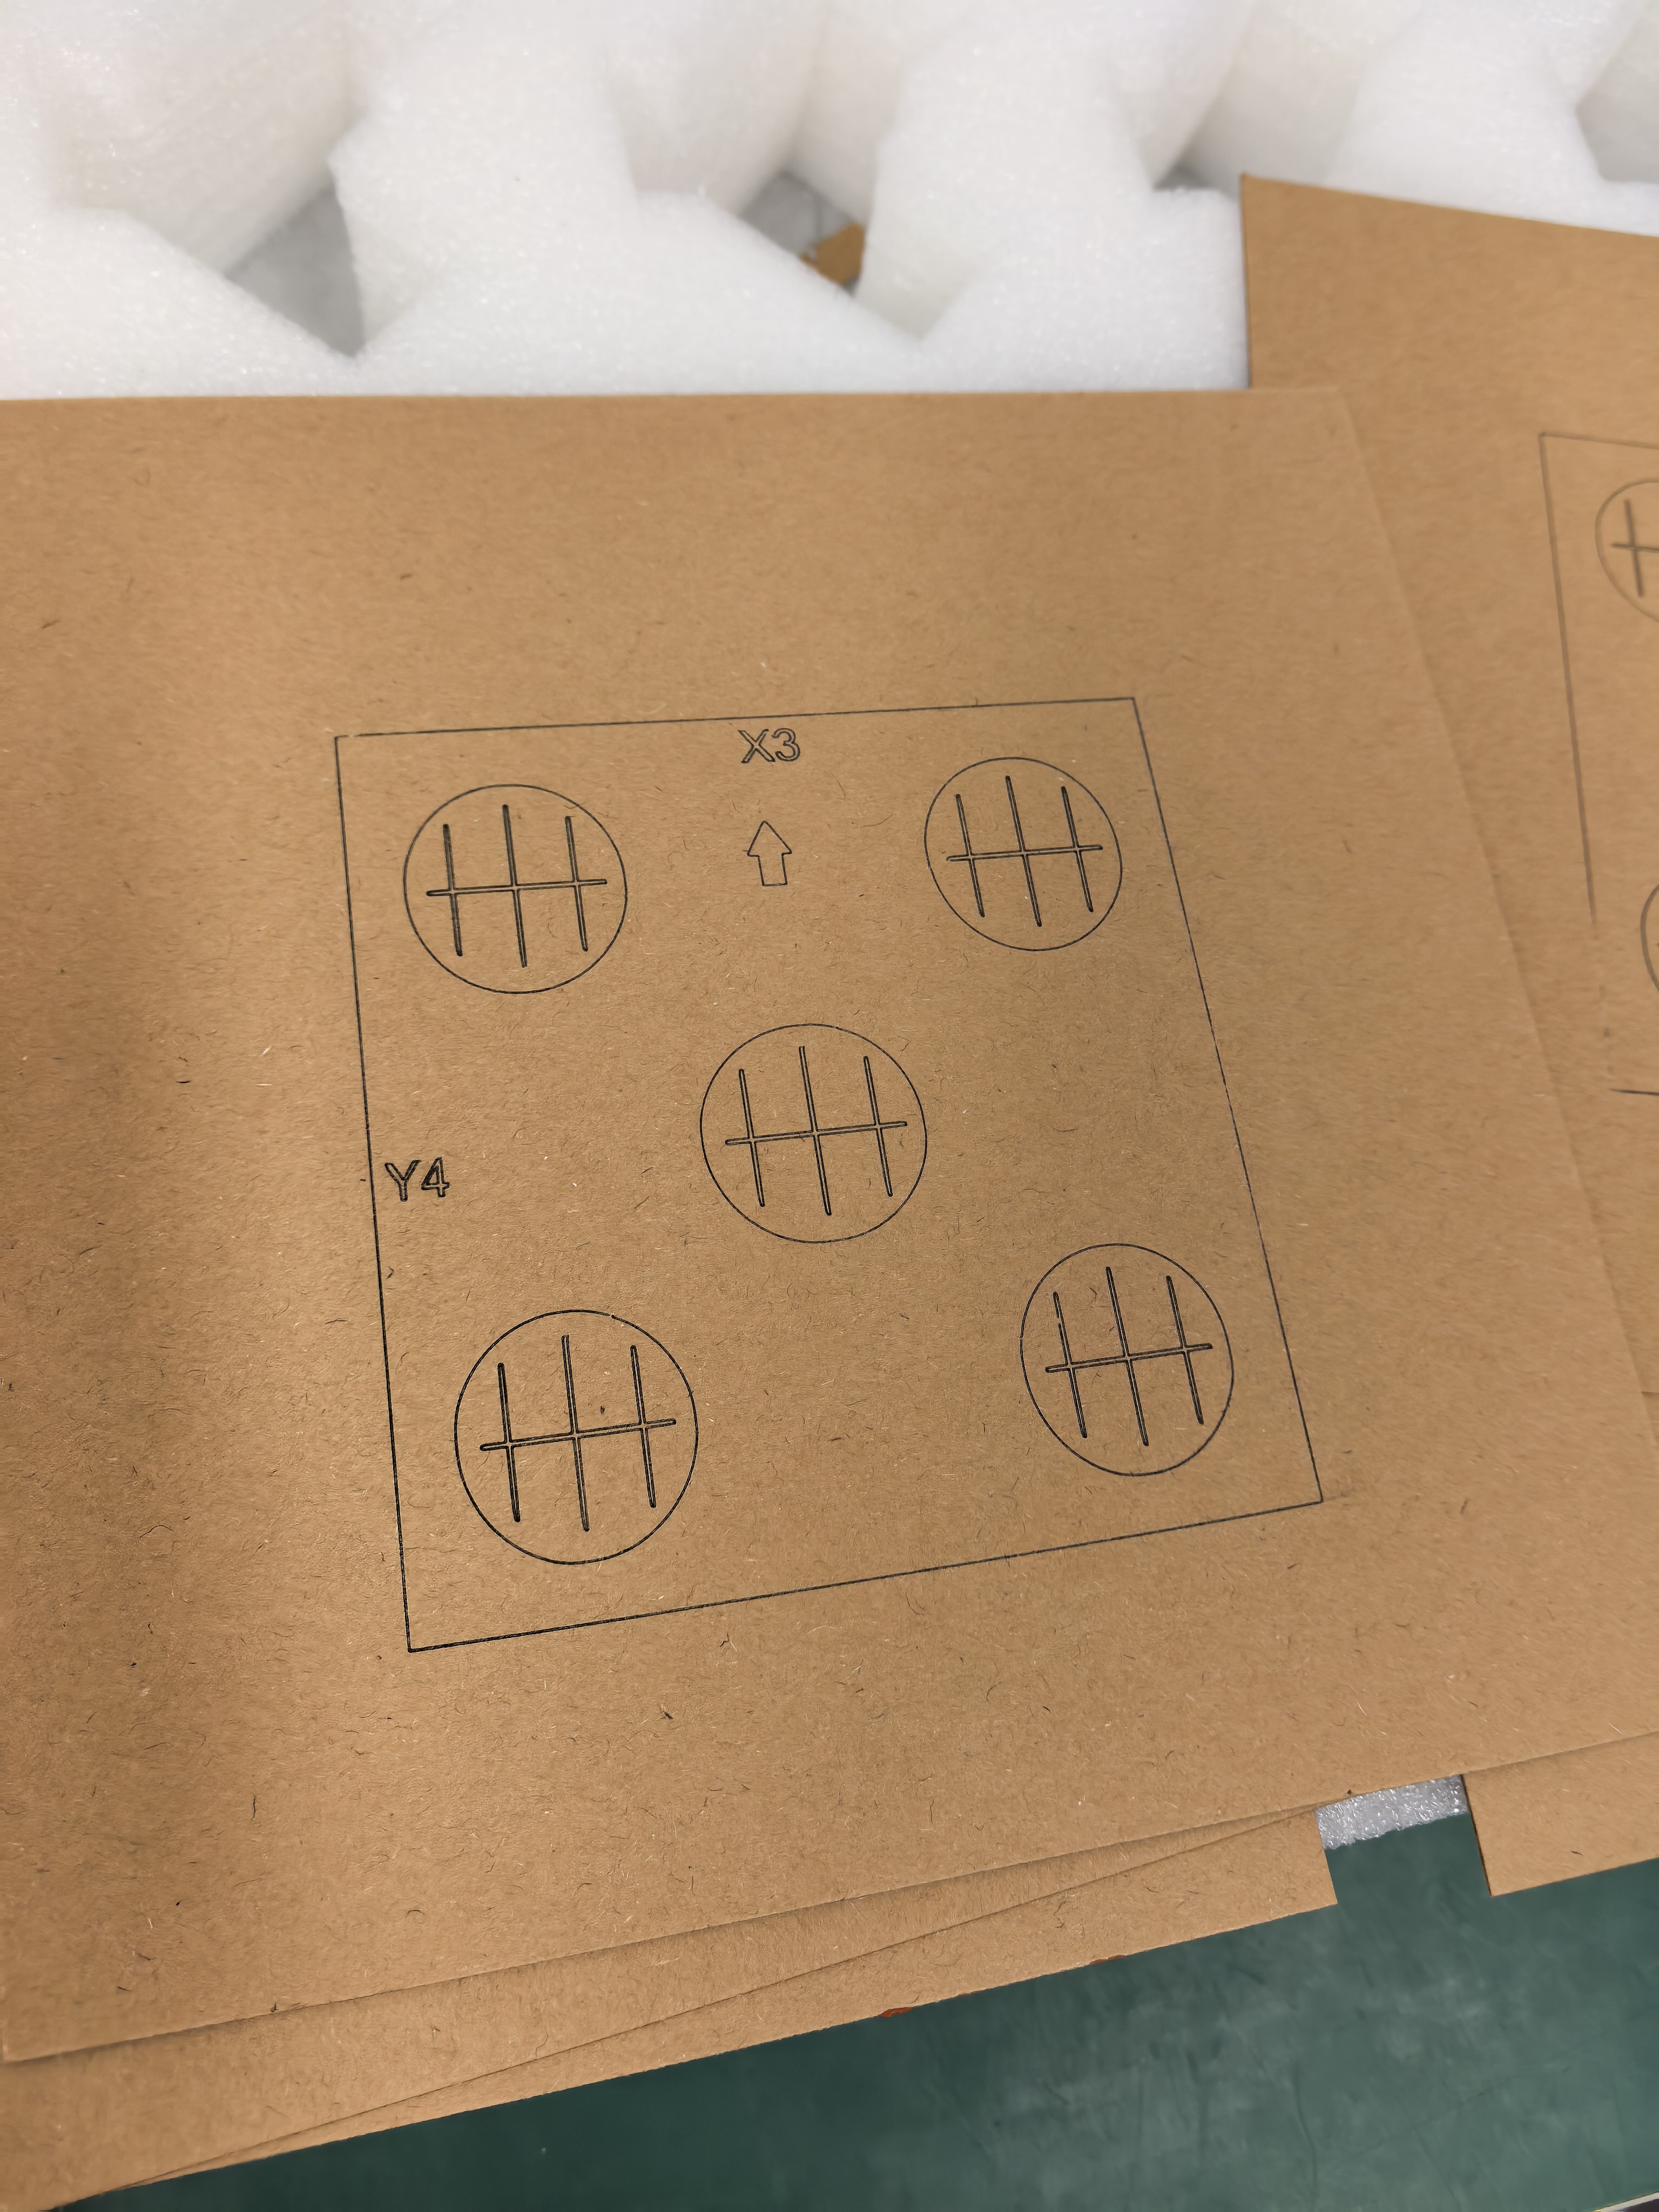
A sample photo without context can become misleading within days. A small label card and a repeatable camera routine help preserve what the image actually shows while keeping uncertain information visible.
Put the sample identity in frame
Use a short code that connects the photo to a written test record. Add the date, orientation marker, and surface description if known. Do not write a confident material name when the source or coating has not been confirmed.
Capture three useful views
Take one overall photo, one closer detail, and one low-angle view that reveals surface texture. Keep a neutral background and avoid filters. If lighting changes between images, note it because apparent contrast can change dramatically.
Preserve the original file
Save the camera original before cropping or adding arrows. A presentation image may help explain an observation, but it should not replace the evidence file. Use filenames that include the sample code instead of relying on a phone’s chronological gallery.
Describe rather than diagnose
Write what is visible: darker region, softened edge, residue, or uneven alignment. Avoid asserting the cause unless it has been tested. Separate “observed” from “possible explanation” in the record.
Link the image to its limits
Note the exact object, artwork, and reviewed conditions. State that a different supplier, coating, geometry, or setup may behave differently. This lets a future maker use the photo as a reference without mistaking it for a material guarantee.
AntBelt G1 sample imagery is most useful when the evidence and its limits remain together. Current prototype examples can inform questions, while final configuration and usage guidance should be checked in official current materials. Browse /updates/ for more sample-review practices.
Review current AntBelt G1 project details and updates on Kickstarter: