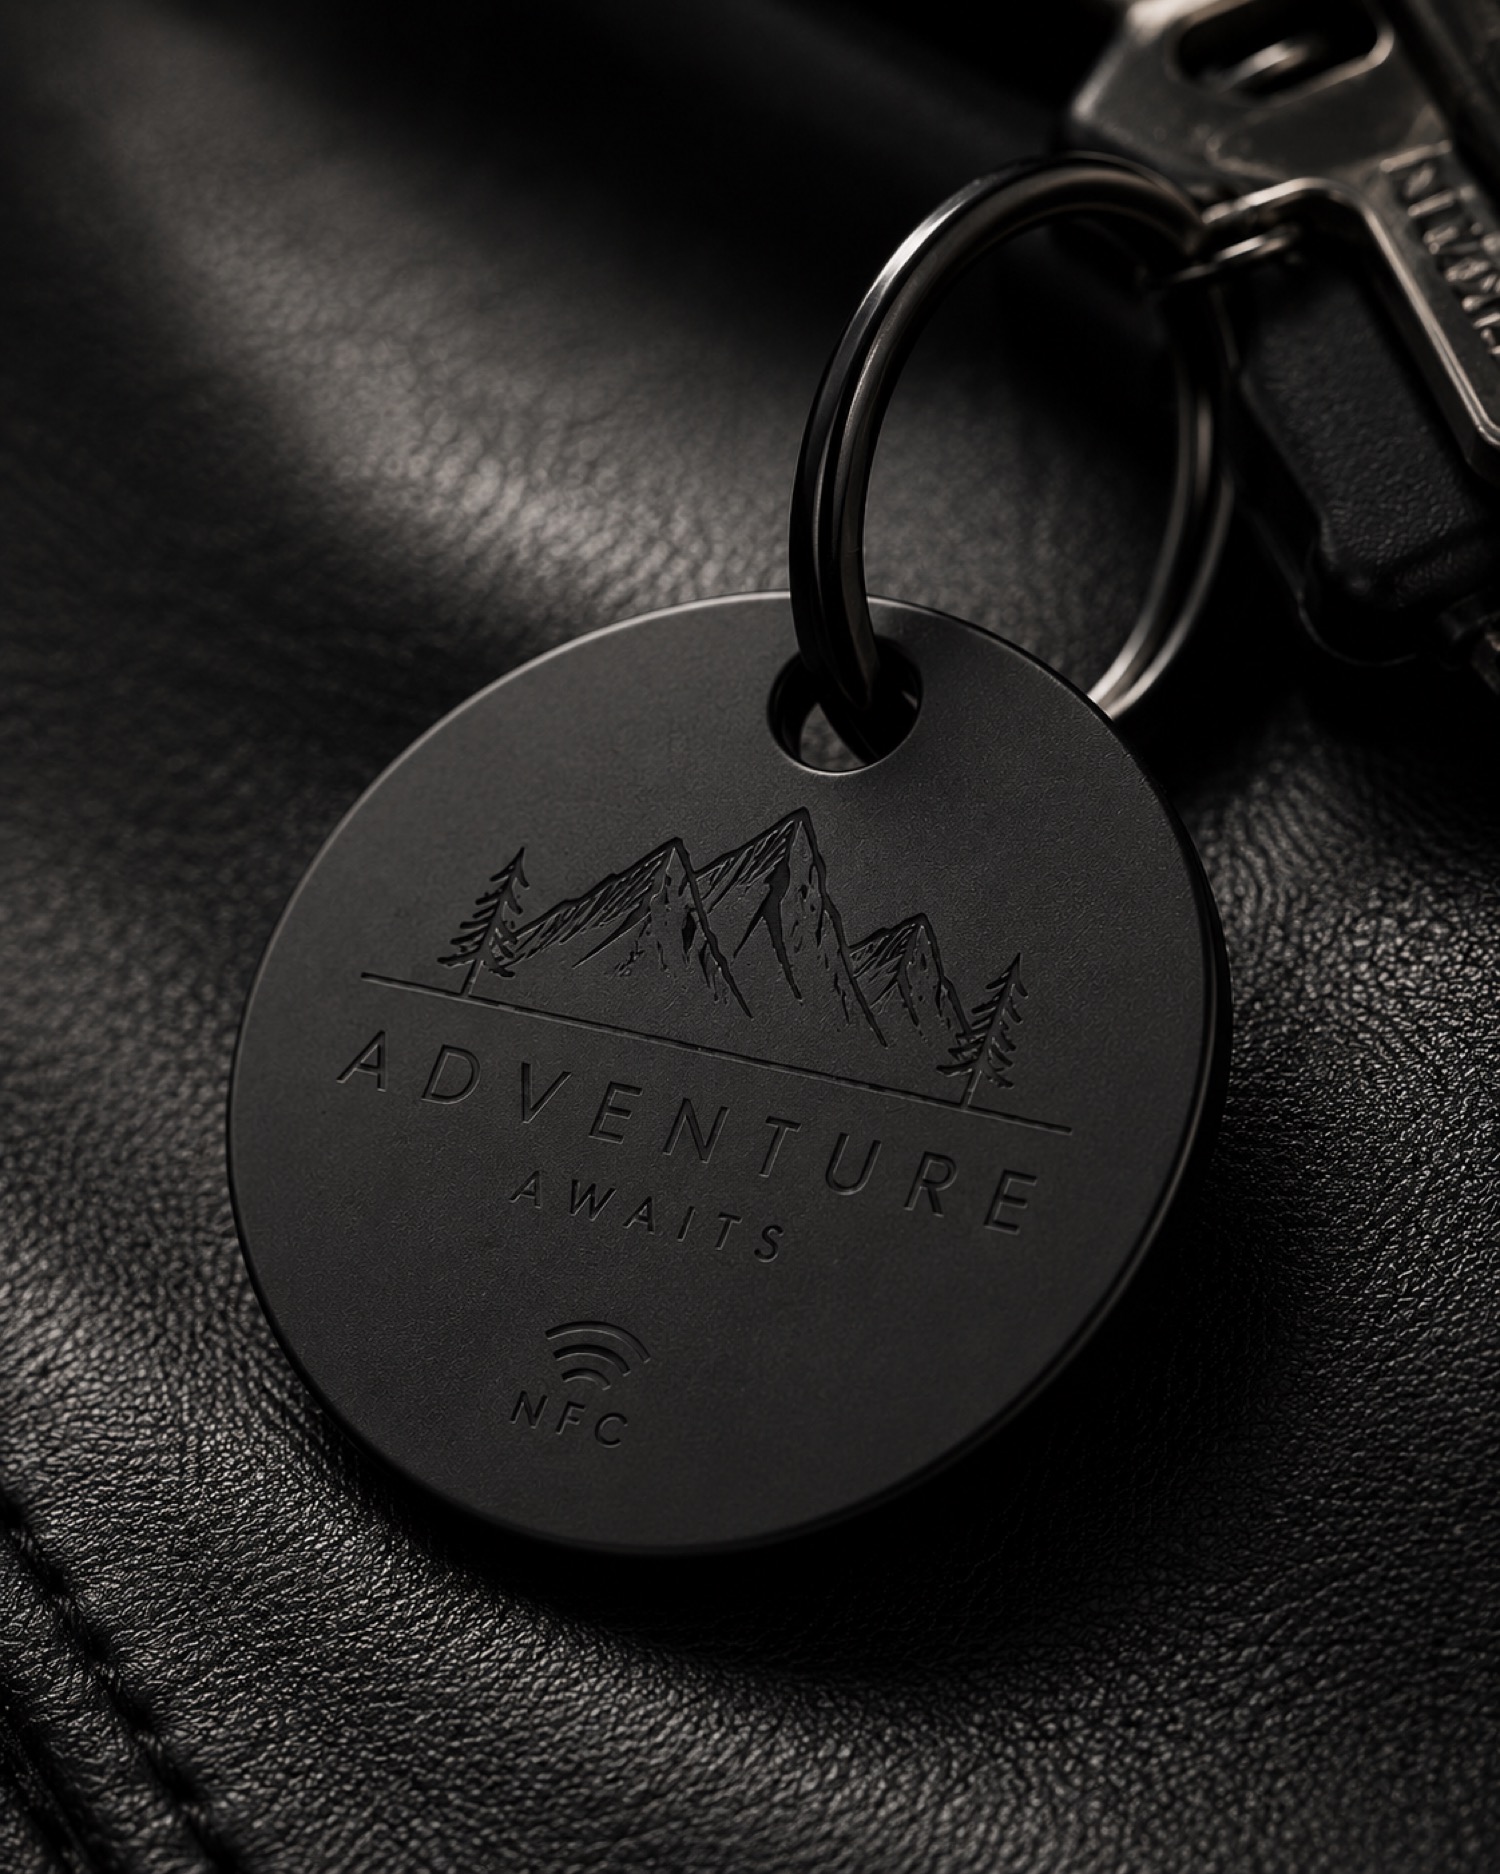
When a blank is small or irregular, a simple paper outline can make placement assumptions visible before a valued piece reaches the work area. This is a planning exercise, not a substitute for the current operating guidance.
Trace the object, not the artwork
Place the unmarked blank on paper and trace its outside edge. Add a clear arrow for its viewing direction and mark any hole, clasp, or edge that affects orientation. Then position a printed artwork outline inside that boundary. This separates the question of object placement from the question of artwork scale.
Keep one reference photograph
Photograph the outline, blank, and orientation arrow together. Give the image the same job code as the artwork file. If the design is revised later, the team can see which physical orientation the earlier version assumed.
Recheck the real setup
Paper cannot confirm focus, material suitability, or final results. Before operating, follow current instructions and confirm required guarding, ventilation, protective equipment, and attended operation. Sample outcomes can vary with material, finish, artwork, and setup.
Browse /updates/ for more AntBelt G1 workflow notes and confirm current project details on the official campaign page.
Review current AntBelt G1 project details and updates on Kickstarter: