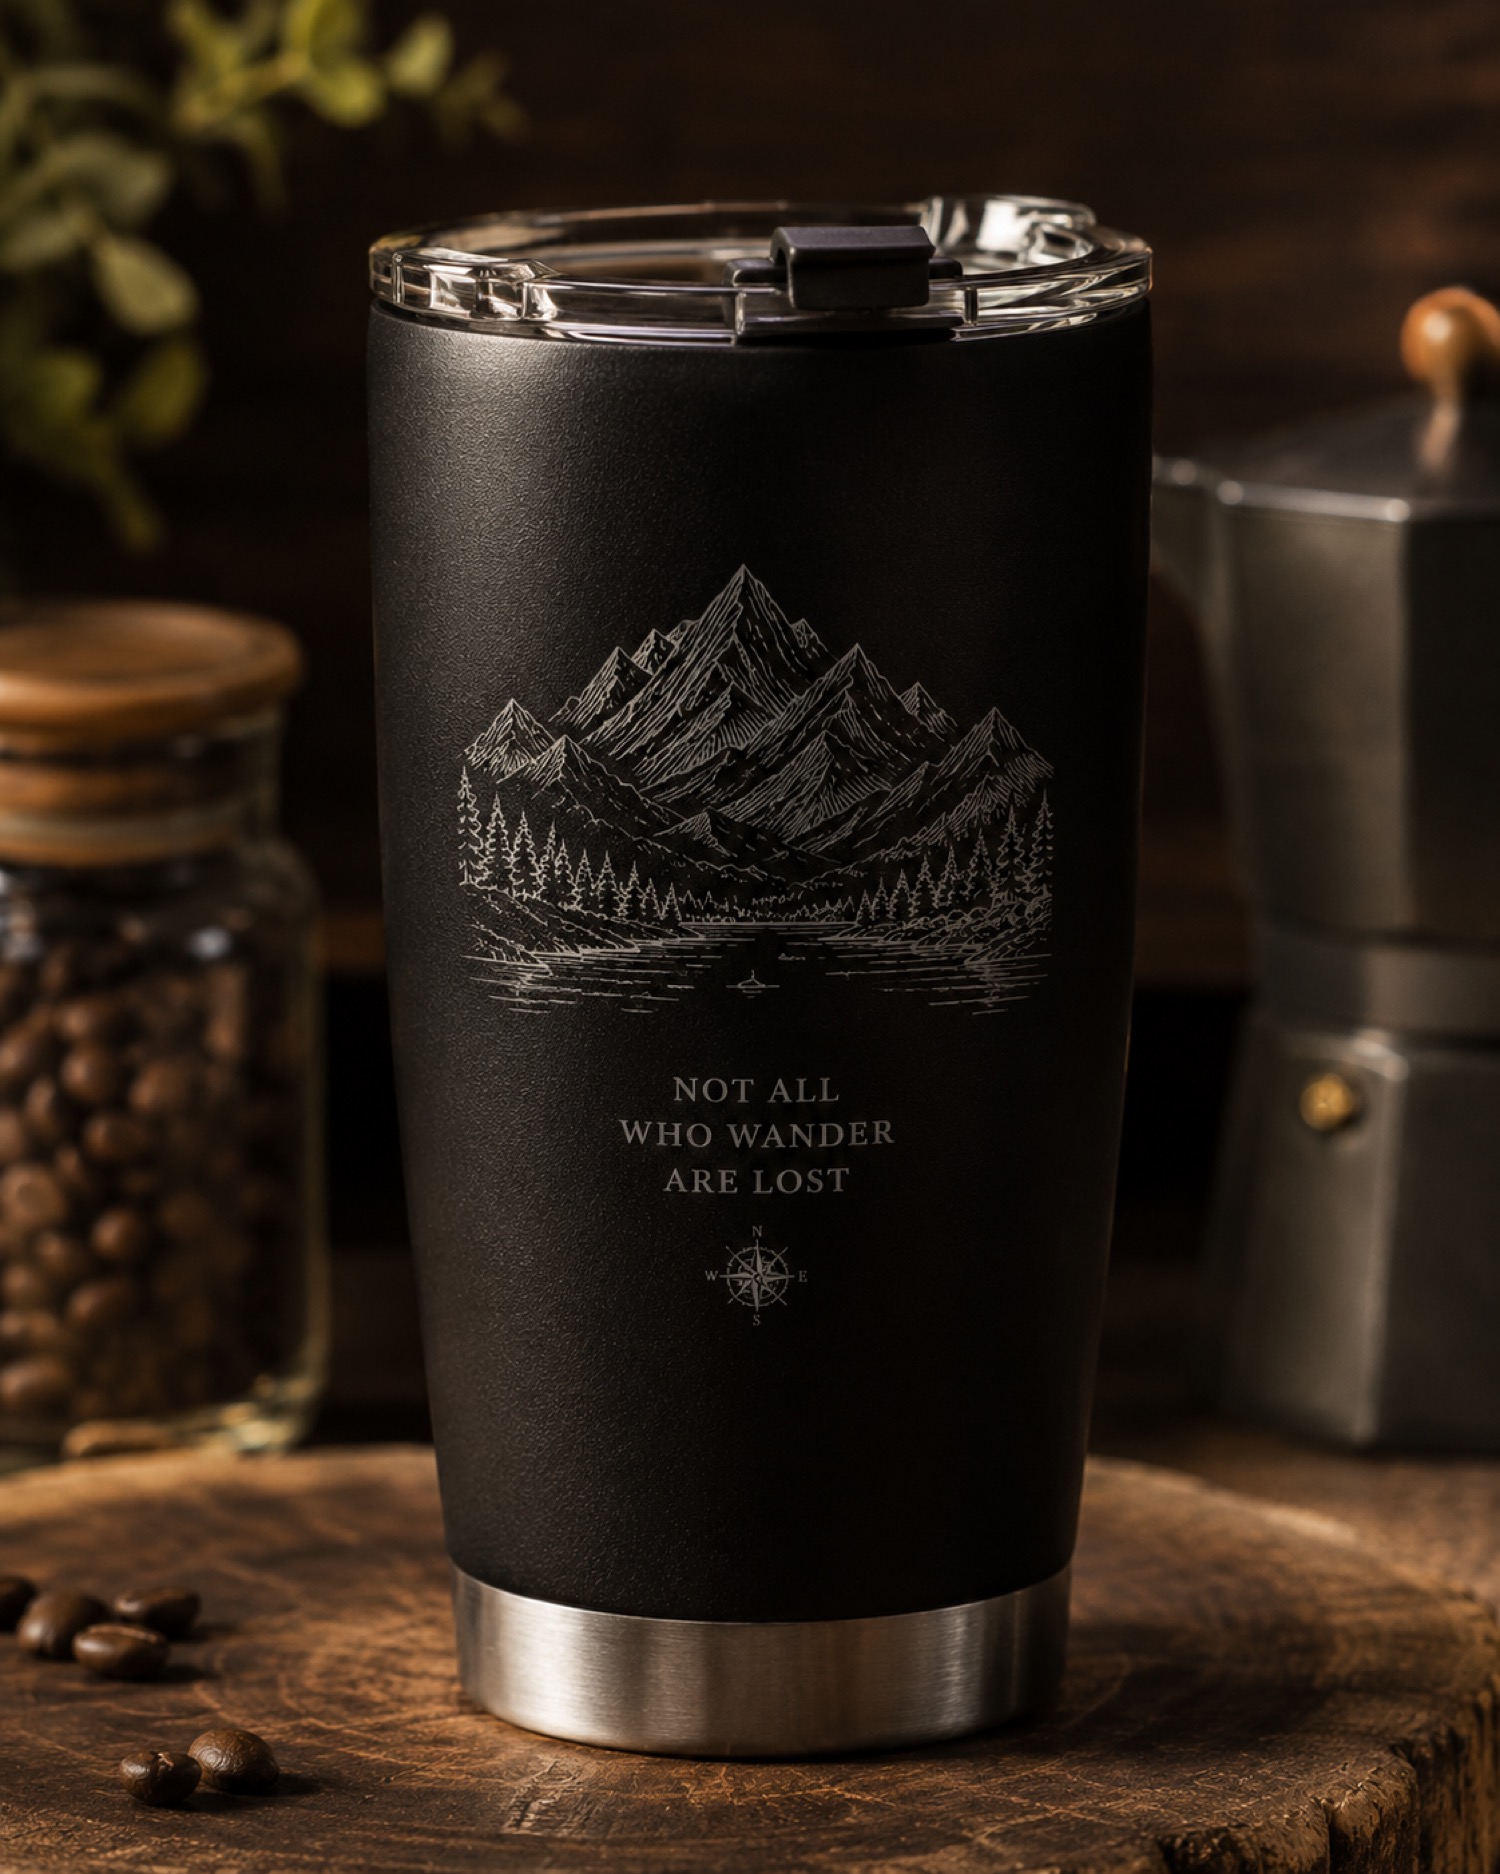
A cylindrical design is read while the object turns, so the hidden seam and the intended viewing direction deserve attention before artwork is finalized. A simple paper-planning exercise can expose awkward transitions without pretending to predict the finished engraving.
Mark the viewing face first
Choose the direction from which the personalized object is most likely to be seen. Mark that face on a removable paper wrap, then note where the design should begin and end. A name, date, or logo may need a clear front even when a decorative pattern continues farther around the surface.
Treat the seam as a design decision
Place the least important visual transition at the planned seam. Avoid letting small text, a face, or a key outline cross that point until the current workflow has been reviewed. Print the artwork at ordinary scale and wrap the paper around a similar object to inspect spacing with your eyes, not only on a flat screen.
Keep the test bounded
AntBelt supports cylindrical engraving, but final setup details should be checked against current official guidance. Surface coating, curvature, artwork, and process settings can all affect a result. Use an appropriate test item when possible, keep notes, and do not treat one sample as a guarantee for another object.
Save an orientation record
Photograph the paper wrap from the main viewing angle and save it beside the approved artwork. Record which edge was treated as the seam and which direction was considered upright. That small record makes revisions easier and helps another operator understand the intent.
This planning method is useful before any cylindrical job because it separates design judgment from machine assumptions. Explore /updates/ for more AntBelt G1 workflow notes and review the current campaign materials for the latest confirmed information.
Review current AntBelt G1 project details and updates on Kickstarter: