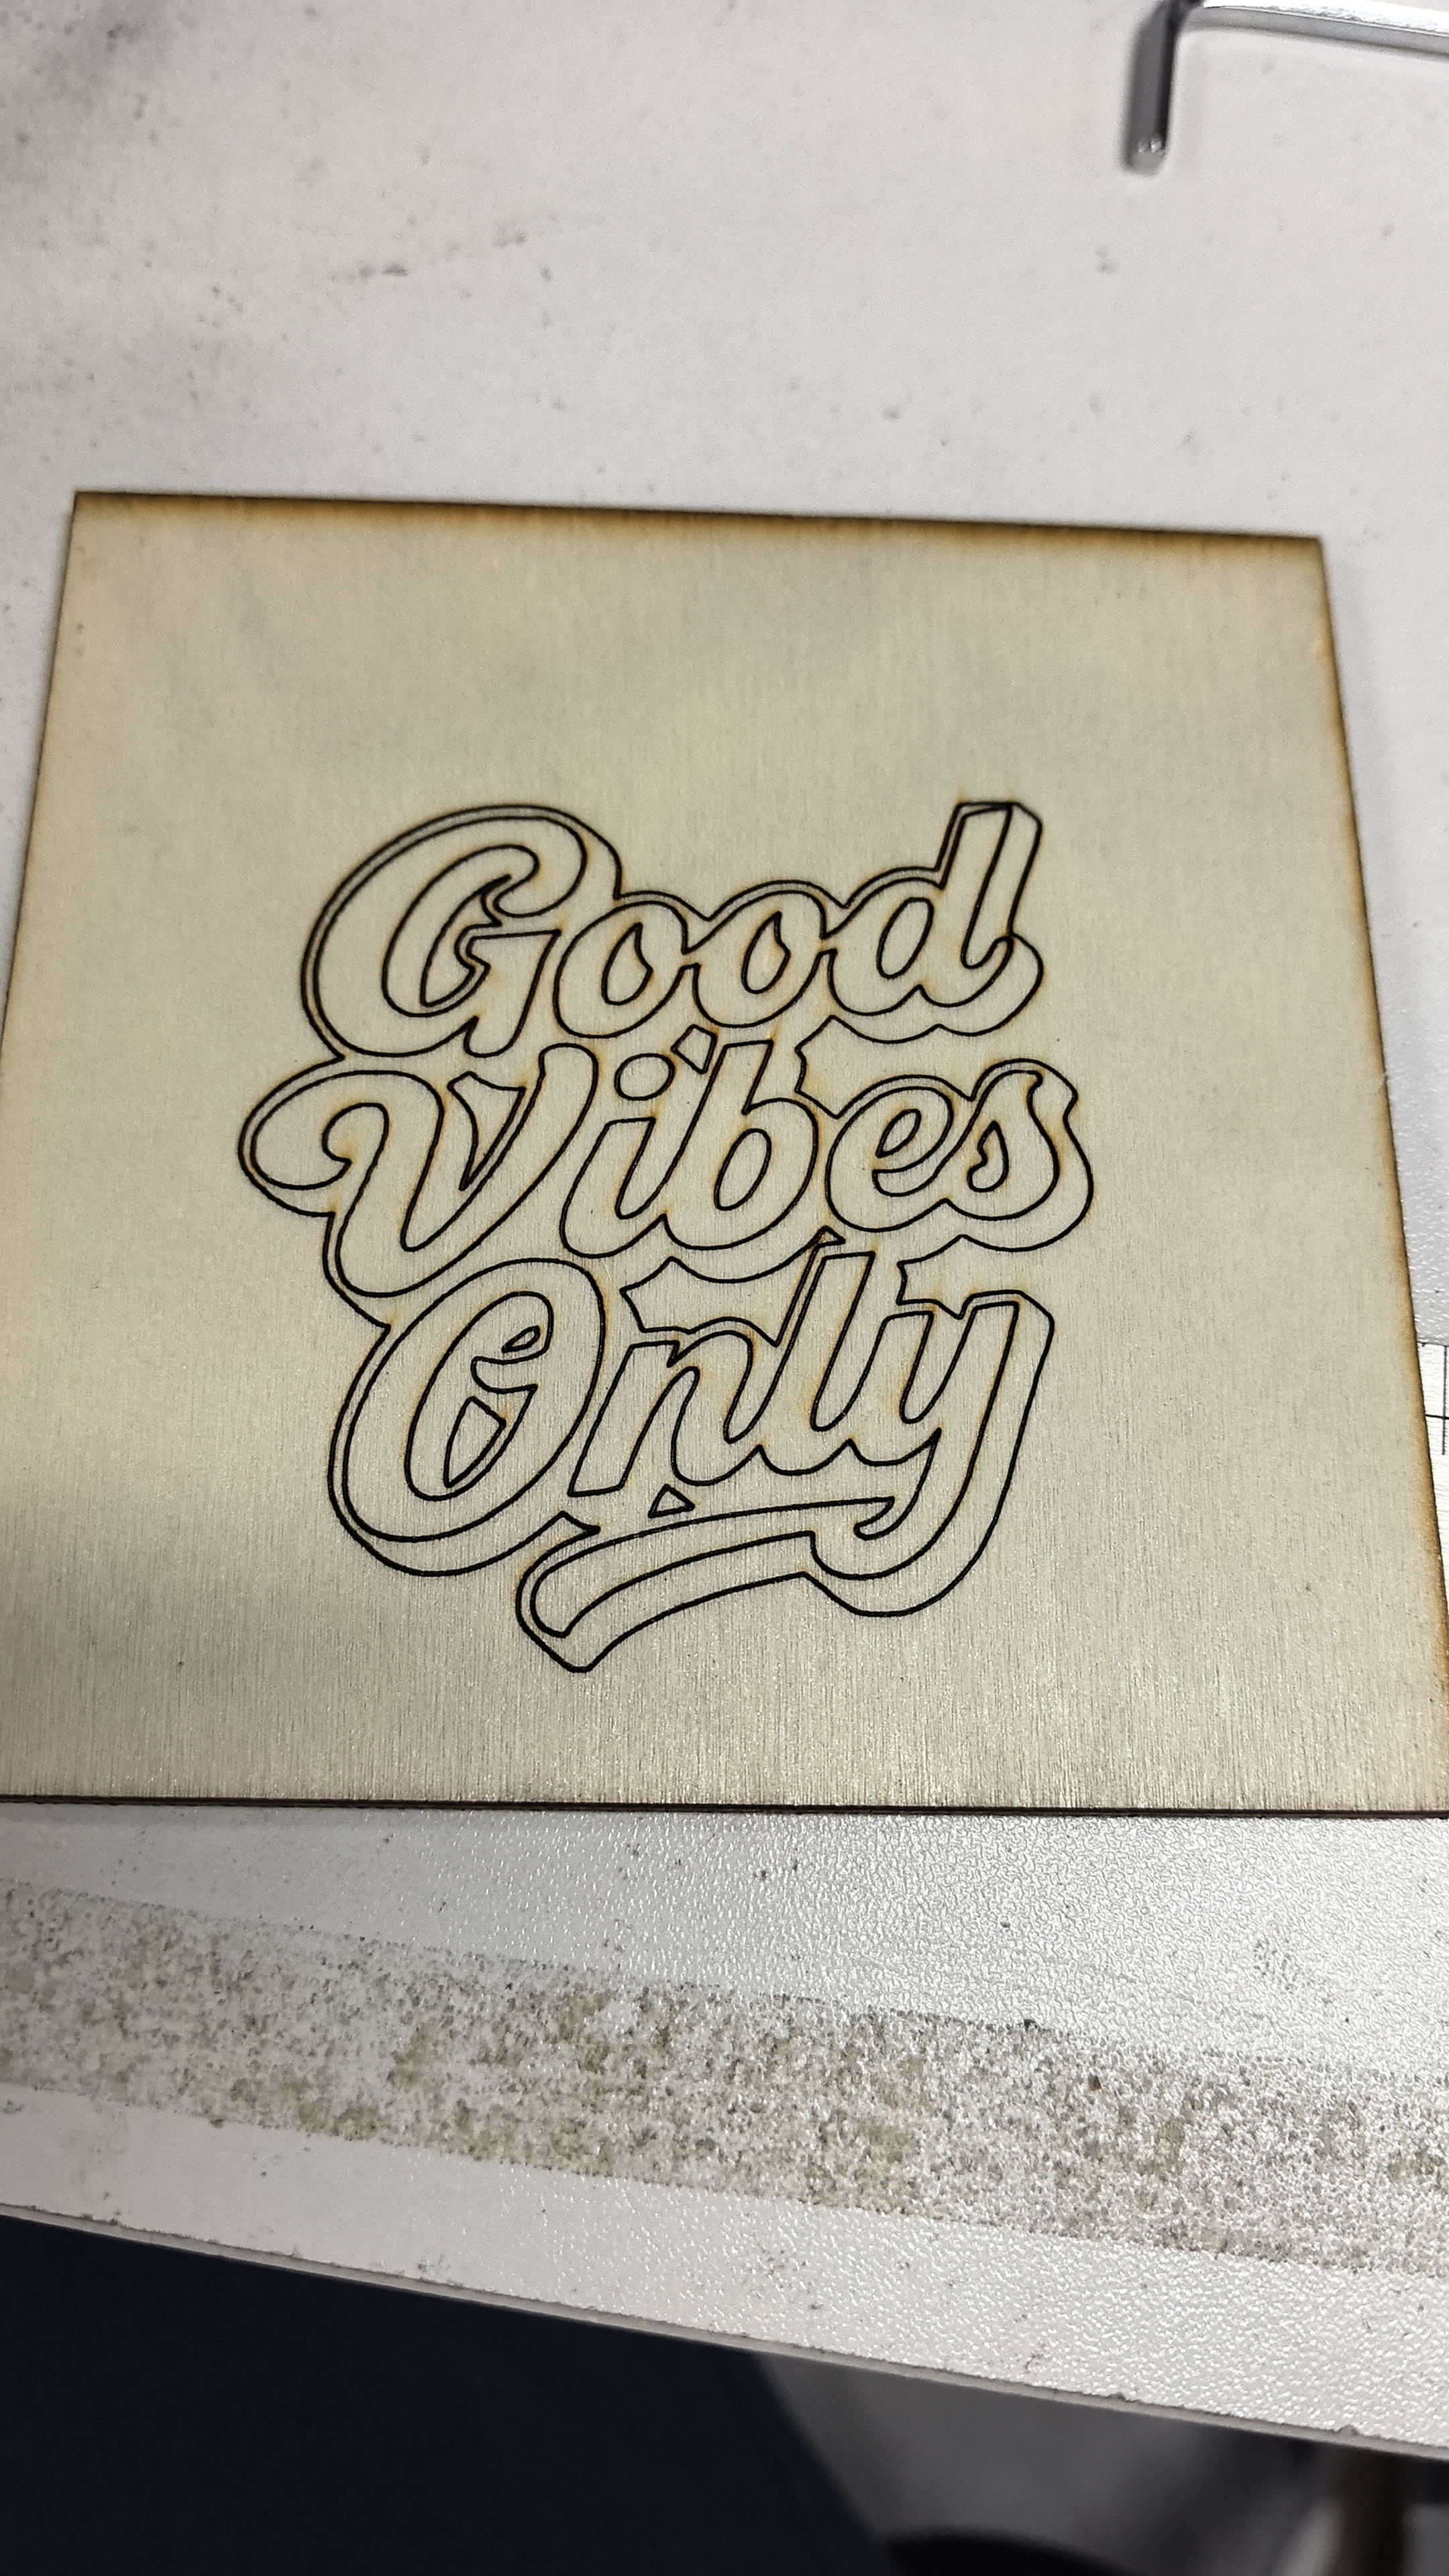
A before photo is most useful when it records surface condition, not merely the object. Small differences in coating, grain, scratches, or reflectivity can change how two samples appear in later review.
Use consistent light
Place the sample against a plain background and use the same light direction for before and after images. Include a label with a neutral sample ID, but keep the label away from the intended work area.
Capture the surface at two distances
Take one frame showing the entire object and one closer frame showing texture or finish. Avoid filters and automatic enhancements when the image will be used for comparison. A photograph documents appearance; it does not identify an unknown material or prove suitability.
Write down uncertainty
If the coating, composition, or treatment is unknown, say so in the record. Confirm the current material guidance before testing. Use ventilation, shielding, suitable protective equipment, attended operation, and a clear stop procedure.
Compare without overclaiming
Review edge clarity, visual contrast, placement, and any visible surface change. Describe only what the specific sample shows under the recorded conditions. Do not turn that observation into a guarantee for a different batch or finish.
AntBelt G1 sample updates should be read as evidence from a current prototype workflow, not universal material promises. A disciplined photo record makes those updates more useful to makers evaluating the campaign. Browse /updates/ for more sample documentation practices.
Review current AntBelt G1 project details and updates on Kickstarter: