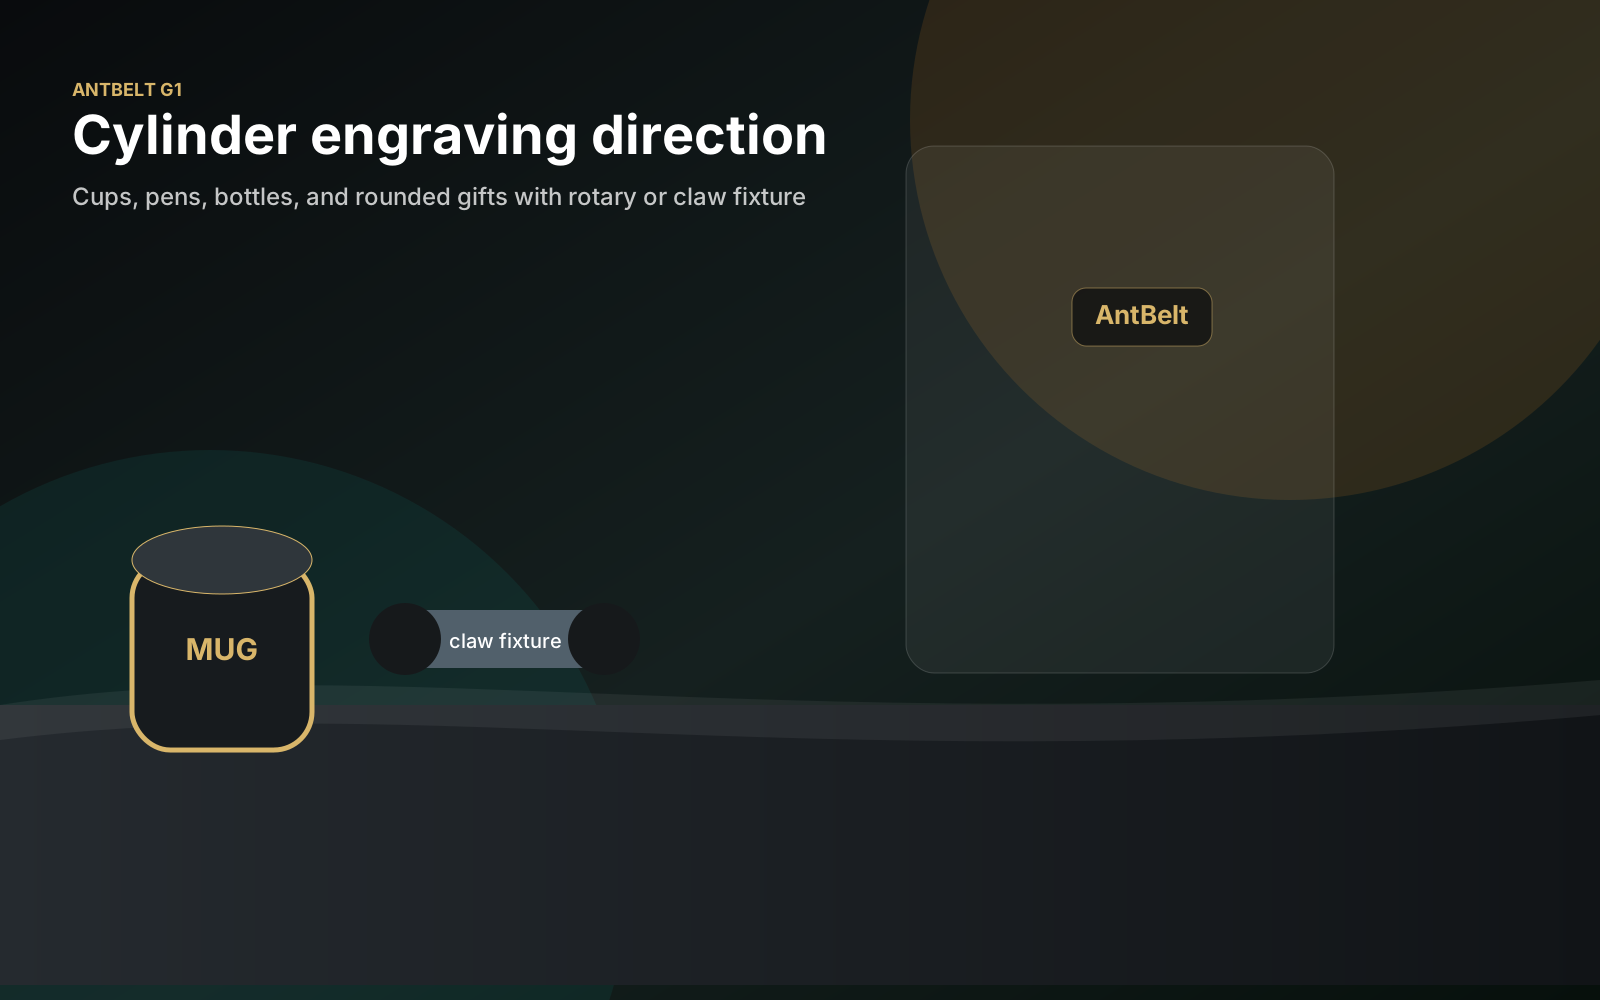
Cylindrical artwork is easier to evaluate when you begin with the viewer rather than the file. Decide how the object will be held, where the eye naturally lands, and which direction should read as upright.
Mark a visual front
Use a removable reference mark or a paper wrap to identify the intended front. Place the name, icon, or short message relative to that line. This simple step prevents a technically centered design from feeling visually misplaced when the object is used.
Test the wrap on paper
Print or sketch the artwork at a provisional size, wrap it around a similar object, and inspect it from normal viewing angles. Look for elements that disappear around the curve and for text that feels crowded. This is a layout review, not a substitute for current equipment instructions.
Keep support claims precise
AntBelt supports cylindrical engraving. Final accessory details, compatible object ranges, and operating instructions should be confirmed from current campaign documentation. Do not infer those details from a single demonstration image.
Record orientation before the session
Save a photo showing the visual front, top direction, and artwork reference point. Confirm material suitability, ventilation, shielding, protective equipment, attended operation, and the stop procedure before any test.
The useful question is not simply whether a curved object can be marked. It is whether the design remains readable and intentionally placed when the object is actually held. Browse /updates/ for more practical workflow notes.
Review current AntBelt G1 project details and updates on Kickstarter: