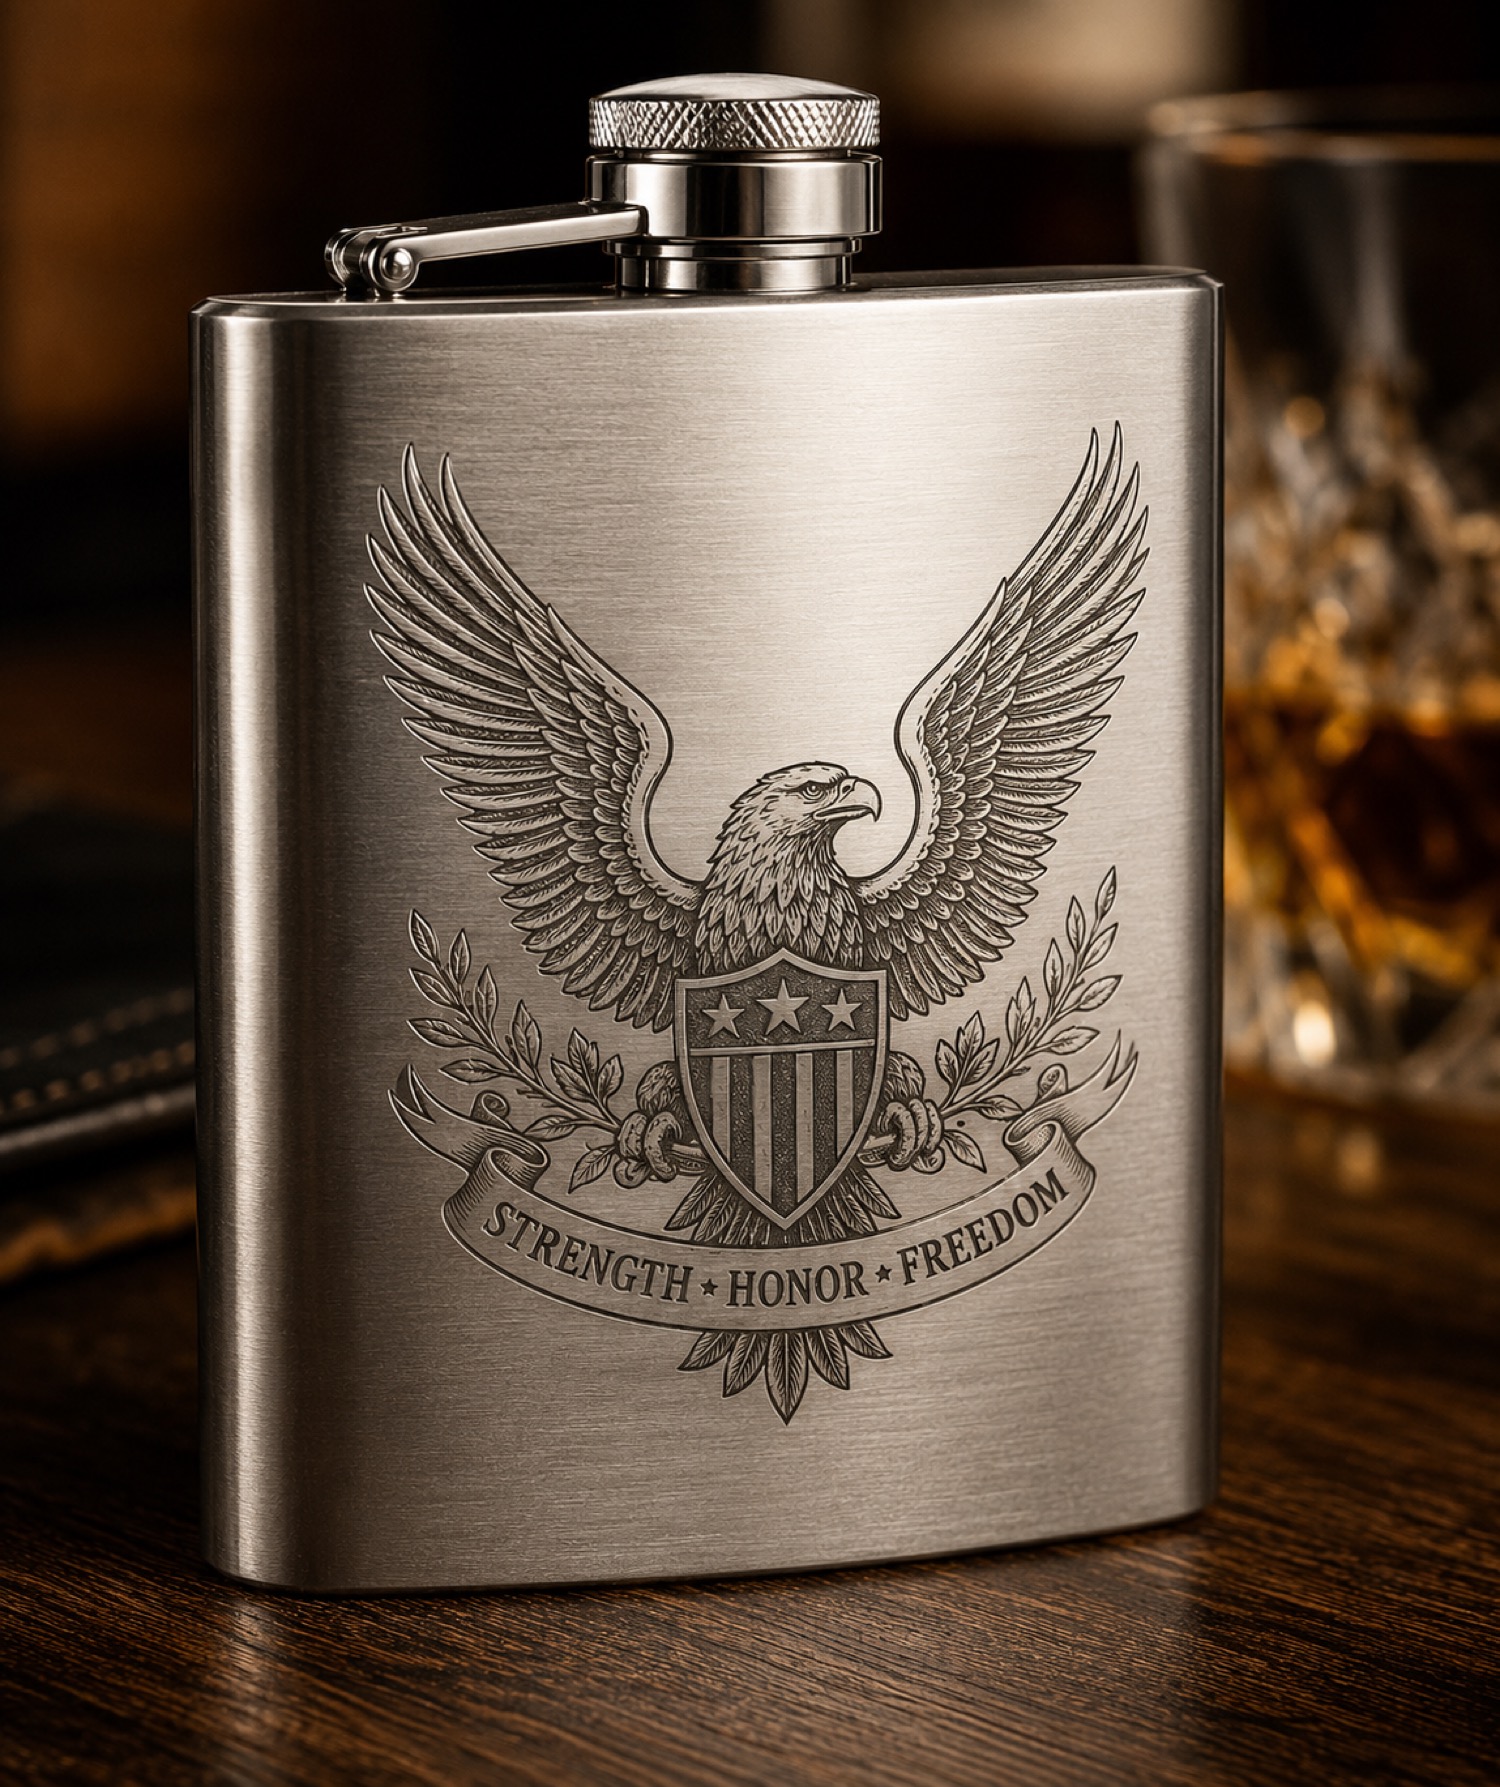
Cylindrical artwork needs an agreed front, upright direction, and seam decision before a sample is prepared. A small orientation card keeps those choices visible without pretending to define final hardware or settings.
Draw the object as the user holds it
Sketch a simple outline and mark the main viewing face. Add an arrow for upright and note whether a handle, cap, opening, or existing mark changes that direction. This is especially helpful when the person approving artwork is not the person preparing the sample.
Identify the quiet transition
Print the artwork on paper and wrap it around a similar form. Put the least important transition away from the main viewing face. Avoid placing small type or a key outline across that area until the current setup has been checked.
Keep capability and setup separate
AntBelt supports cylindrical engraving. Final accessory details, compatible object ranges, and operating steps should come from current official guidance rather than assumptions. Surface finish, curvature, artwork, and process choices may affect an individual result.
Attach the card to the job record
Photograph the paper wrap from the intended front and save it with the approved artwork. On the card, write who approved the orientation and which test object was used. If the design changes, make a new card instead of silently overwriting the old decision.
The card is deliberately simple: it preserves design intent while leaving machine-specific verification to the proper stage. More bounded workflow ideas are available at /updates/.
Review current AntBelt G1 project details and updates on Kickstarter: