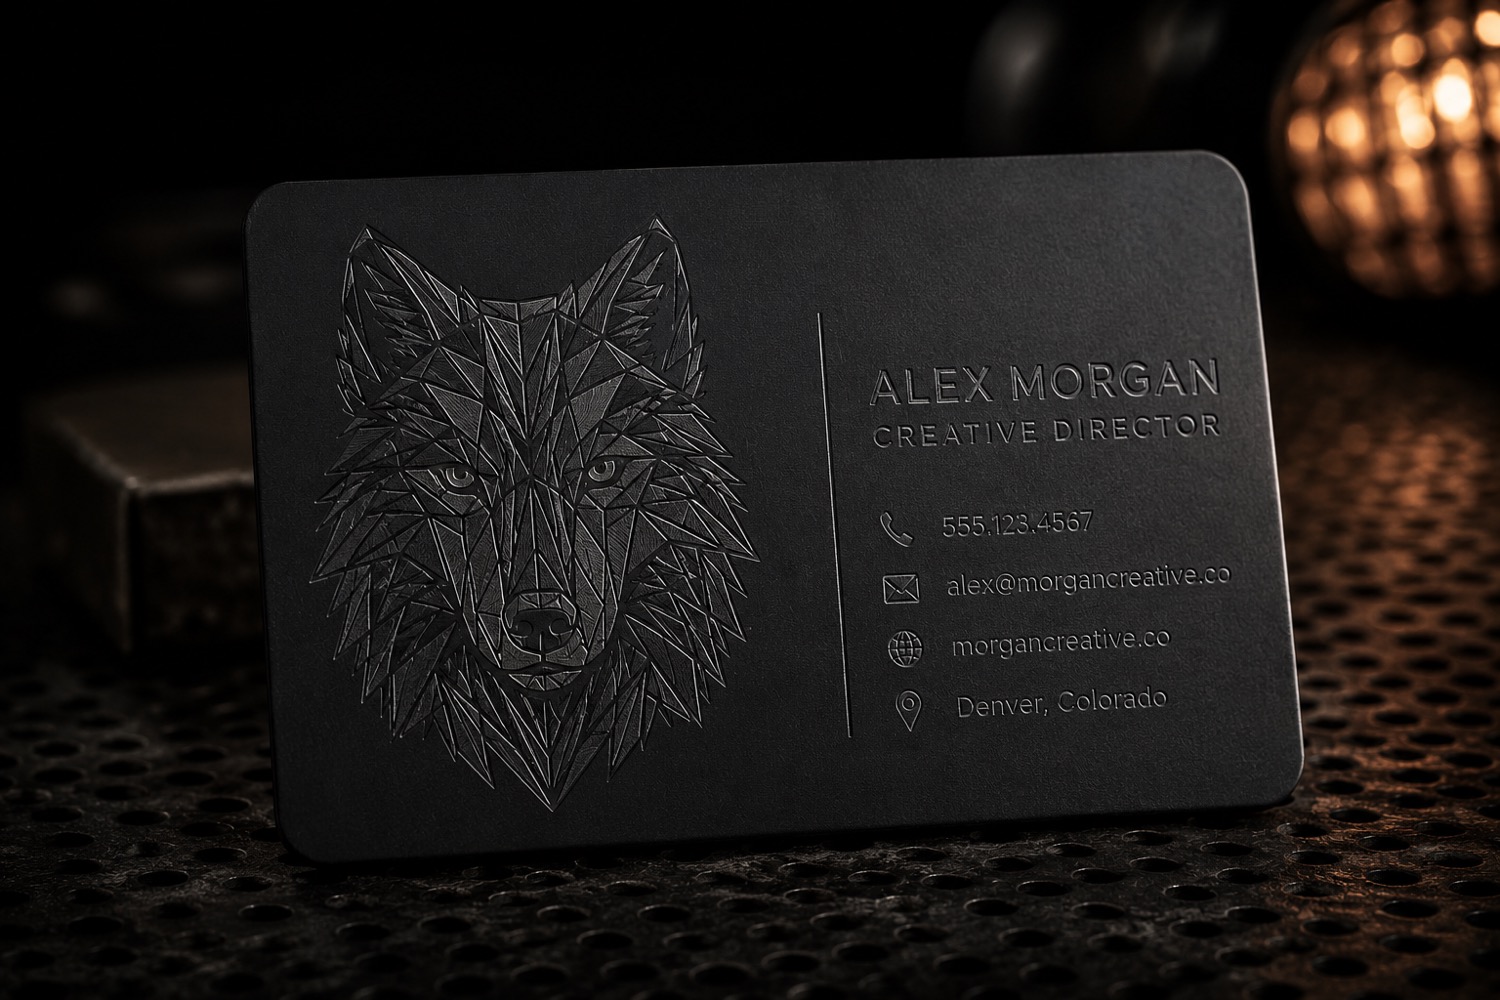
A design can look comfortably spaced on a monitor and still feel crowded on a small object. A paper window gives makers a fast way to judge visual balance before opening a machine workflow.
Cut the viewing area, not the final fixture
Measure the intended artwork area on the actual test piece, then cut that opening from plain paper. Place the window over a printed copy of the design. This does not confirm machine settings or final placement, but it does expose text that is too close to an edge and details that disappear at ordinary viewing distance.
Check three distances
Look at the paper mockup close up, at arm's length, and from the distance where the object will normally be seen. A label may need immediate readability, while a keepsake can reward closer inspection. Record which details remain clear rather than relying on zoomed artwork alone.
Mark the deliberate empty space
Use a pencil to identify the margin that must remain around names, dates, holes, clasps, or other object features. Save a photo of the approved paper view beside the artwork file. That image becomes a useful intent record if the design is revised later.
Move to a bounded sample
After the visual check, use an appropriate test piece and follow current operating guidance. Material, finish, artwork, and process choices can affect the result, so a paper check is a layout aid rather than a performance guarantee.
Browse /updates/ for more AntBelt G1 planning notes. Current product and campaign information should always be checked at the official project page.
Review current AntBelt G1 project details and updates on Kickstarter: